

With the explosion in popularity of Vercel, I thought it would be fun to try and create an app with Next.js. Compared to create-react-app, Next.js is better utilized for blogs and static websites since it supports server-side rendering straight out of the box. As a result of this, the loading time will be spread out, thus leading users to believe that performance will be better. Ultimately, people have enjoyed using Next.js because it is a powerful tool for building fast and SEO-friendly applications.
Setup
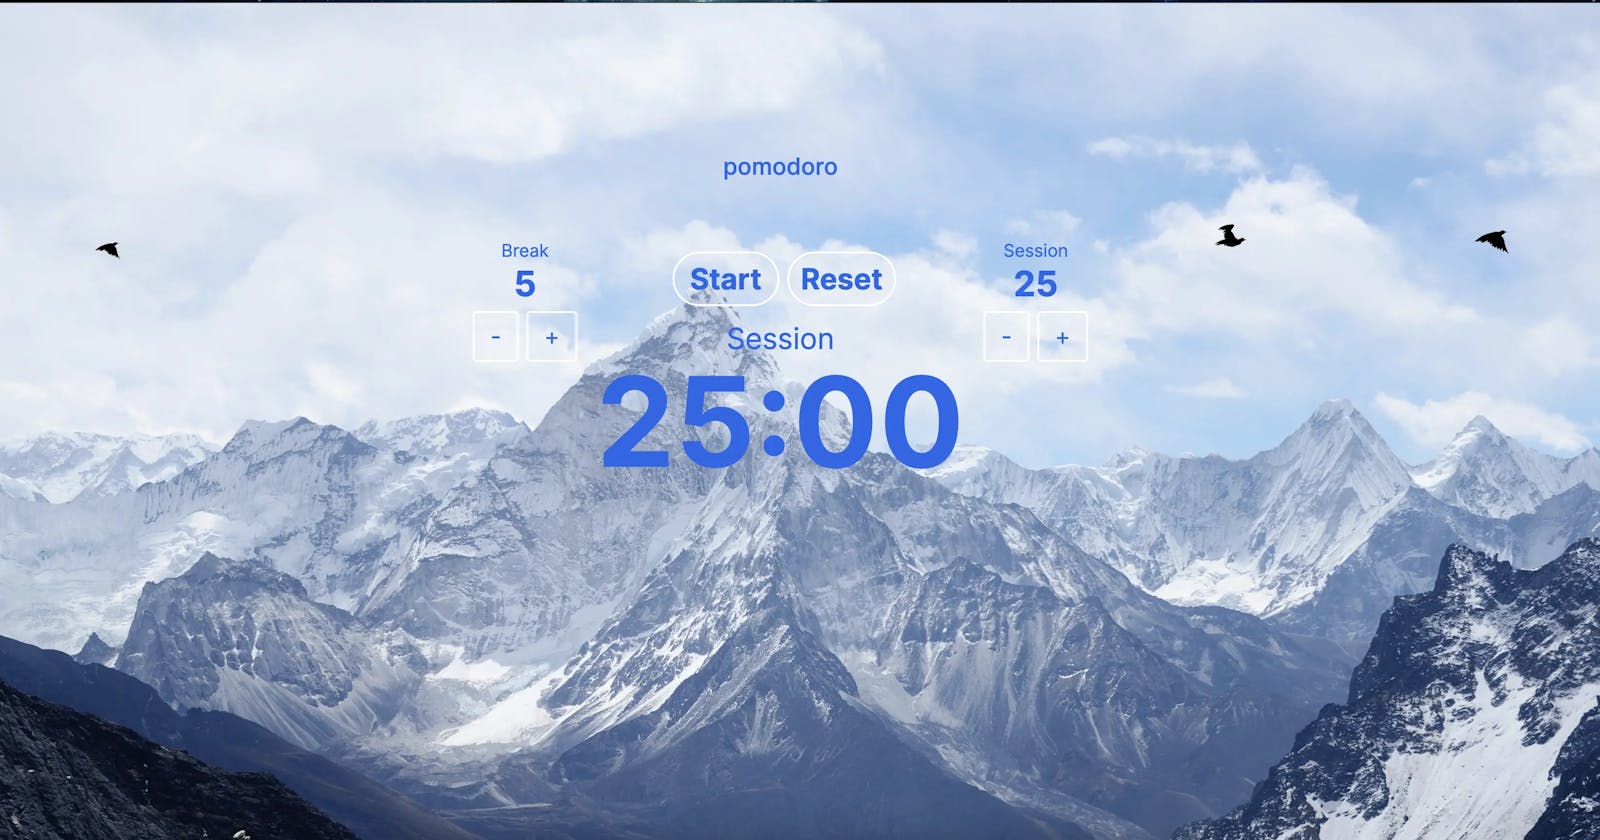
For this demo, I created a quick and easy Pomodoro website and this was how I initialized the project. You can also click on these links to view the code and site.
I followed instructions for Next.js's auto-install by doing the following steps:
npx create-next-app@latest
What is your project named?  my-app
Would you like to add TypeScript with this project?  Y
Would you like to use ESLint with this project?  Y
Would you like to use Tailwind CSS with this project? Y
Would you like to use the `src/ directory` with this project? Y
Would you like to use an import alias? N
Since I wanted to try and utilize Typescript and Tailwind, I answered "Y" to all of them except for the last prompt. You can use whatever you'd like.
Building the App
After making a functional pomodoro timer, it is time to export and build. At first, I was having trouble building an export folder and online tutorials would have required me to overhaul the entire project but I think I found a quick and easy trick.
First, you have to make sure that you have all the necessary scripts in your package.json.
  "scripts": {
    "dev": "next dev",
    "build": "next build",
    "start": "next start",
    "lint": "next lint",
    "export": "next export"
  }
Secondly, you have to edit your next.config.js file to look like this:
/** @type {import('next').NextConfig} */

const nextConfig = {
    generateStaticParams: function () {
        return {
          '/': { page: '/' },
          // add more pages here
        };
      },
      output: 'export',
}

module.exports = nextConfig
Since this is just a static website, we are only returning '/'. But if you had a home, about, and contact page, you can easily add the pages in the function.
The important line of code is what comes next. output: 'export' is what enables static exports so that when you run next build, Next.js will create an out folder that contains all of the HTML/CSS/JS assets for your app.
After making these configurations you just need to enter these commands:
npm run export
npm run build
Deploying the App
After initializing CDK in its own folder in the root directory of the project, go into the bin/cdk.ts file and paste this code:
#!/usr/bin/env node
import 'source-map-support/register';
import * as cdk from 'aws-cdk-lib';
import { YourStack } from '../lib/cdk-stack';

const app = new cdk.App();

new YourStack(app, 'YourStack', {
  env: {
    region: 'us-east-1', // add your region
    account: process.env.YOUR_ACCOUNT_NUMBER,
  }
});
Then paste this code into your lib/cdk-stack.ts file.
// lib/cdk-stack.ts
import * as cdk from 'aws-cdk-lib';
import { Construct } from 'constructs';
import { SPADeploy } from 'cdk-spa-deploy';

export class YourStack extends cdk.Stack {
  constructor(scope: Construct, id: string, props?: cdk.StackProps) {
    super(scope, id, props);

    new SPADeploy(this, 'cfDeploy')
      .createSiteWithCloudfront({
        indexDoc: 'index.html',
        websiteFolder: '../out',
      });
  }
}
This SPADeploy construct creates a standard Cloudfront site with the index.html file that is in the out folder.
Finally, all you need to do are these commands:
cdk bootstrap
cdk deploy
If everything went well as it did for me, you will now have a Next.js application deployed on AWS through the CDK!